NAS Setup
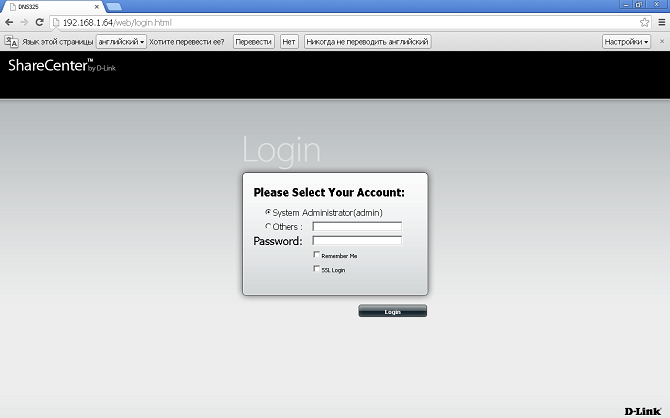
Open your browser and navigate to the NAS
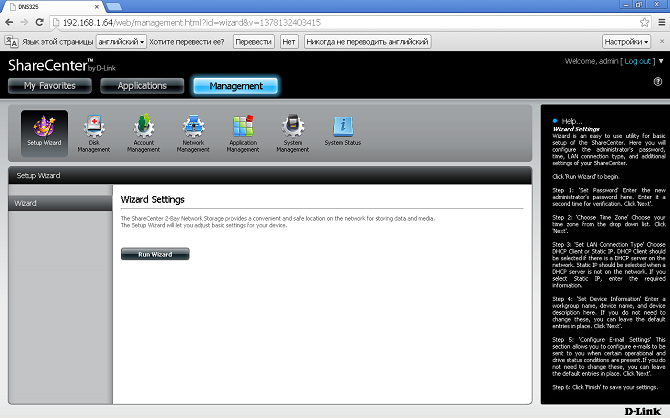
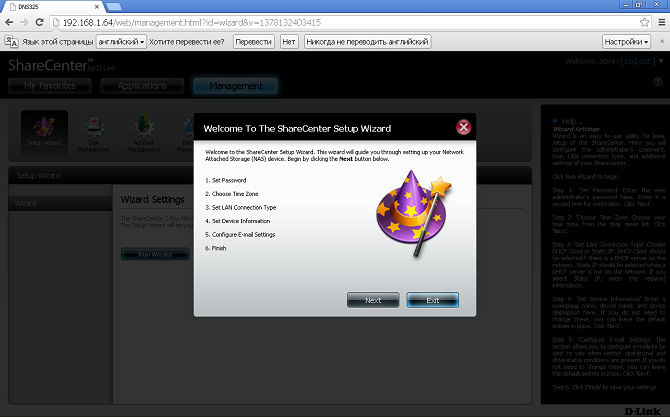
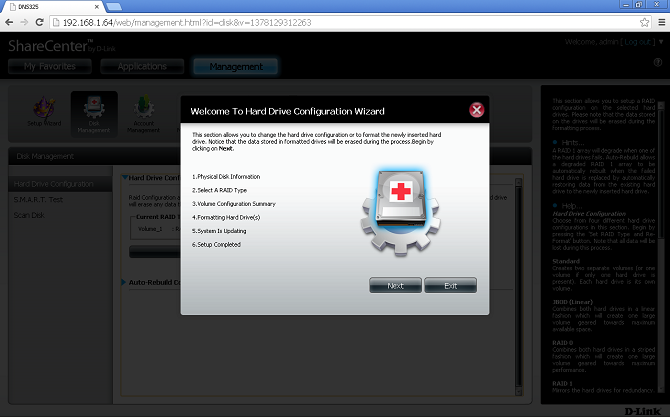
Go to Management and select Run Wizard
Move between pages and fill our the following information:
- Administrator Password;
- Time and Time Zone;
- LAN Settings;
- Device Name;
- Linking NAS Network Administrator.
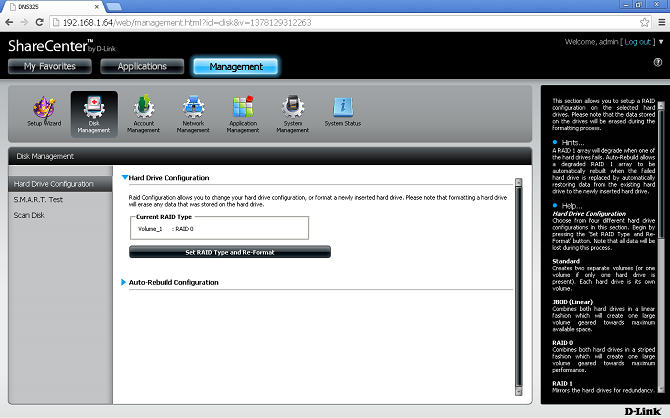
Prepare the hard drive and create RAID set.
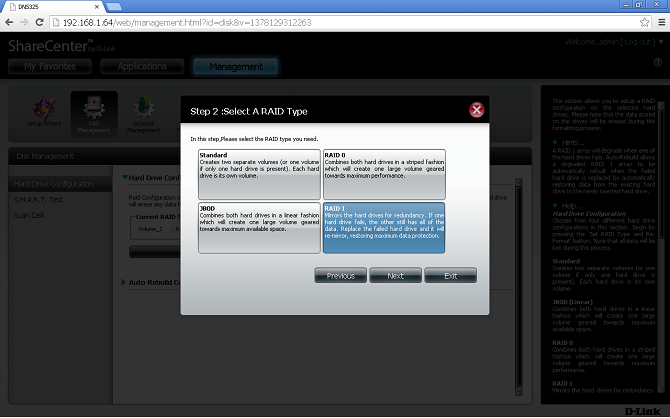
Select a RAID type in Step 2:
- Standard – Creates two separate volumes (or one volume if only one hard drive is present). Each hard drive is its own volume.
- JBOD – Combines both hard drives in a linear fashion which will create one large volume geared towards maximum available space.
- RAID 0 – Combines both hard drives in a striped fashion which will create one large volume geared towards maximum performance.
- RAID 1 – Mirrors the hard drives for redundancy. If one hard drive fails, the other still has all of the data. Replace the failed hard drive and it will re-mirror, restoring maximum data protection.
Do not configure any other settings, these will be configured after create the RAID set and formatting the drive.
WARNING: formatting the drive will erase all data.
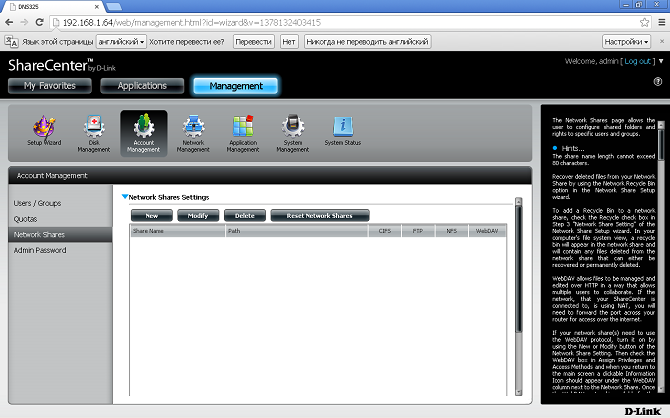
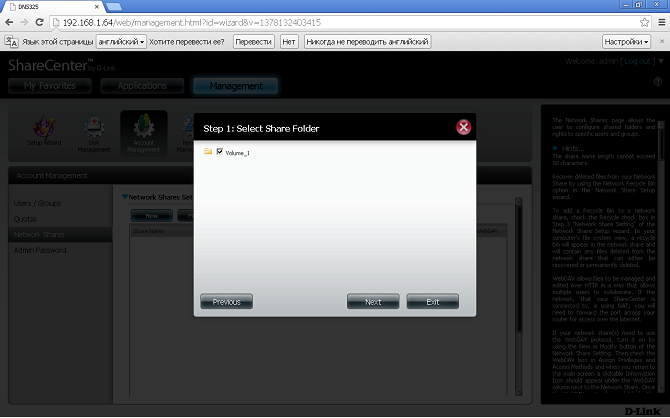
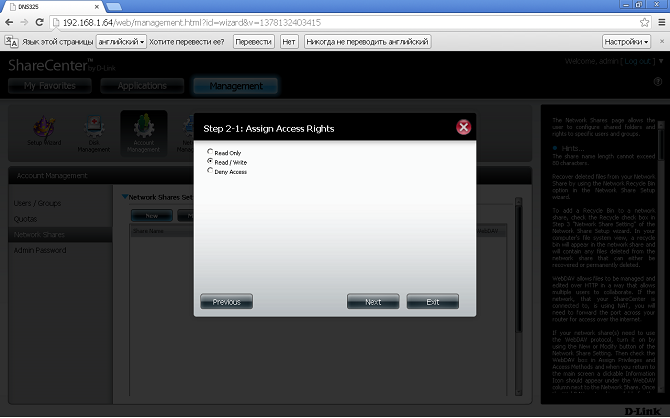
Create a Network Share and configure access rights:
Select the created resource. In Step 2-1, select Read / Write. Click Next.
Windows 7 Configuration
Windows 7 configuration may not be required depending on the network security policies. The following solution deals with reading and writing to network resources without authentication.
1.
First ensure Windows is fully updated to Service Pack 1 or later:
Start → Control Panel → Windows Update
2.
Configure the Windows security policy.
Start → Control Panel → Administrative Tools → Local Security Policy.
In the Local Security Policies window, select:
Security Settings → Local Policies → Security Options
and change the Security Setting for the following two Policies:
- Network Security: LAN Manager authentication level
Send NTLMv2 responses only. Refuse LM NTLM
- Network Security: Restrict NTLM: Outgoing NTLM traffic to remote servers
Allow all
|


